
It is incredibly frustrating when your computer decides to nap right in the middle of a critical task. Whether you are downloading a massive file or rendering a 4K video, macOS energy settings often kick in too early and kill your progress. Fortunately, you do not need to download sketchy third-party apps to keep the Mac awake during these moments. Apple actually builds a powerful tool called caffeinate directly into the system, allowing you to override sleep settings with a few simple keystrokes.
The Basics of Using Caffeinate to keep the Mac awake
Using the Terminal to keep the Mac awake might seem intimidating if you have never touched it before, but it is actually quite straightforward. This built-in utility acts like a digital shot of espresso for your hardware by preventing the system from entering its usual low-power states. Because it is a native tool, it uses almost no system resources and requires zero installation. Therefore, understanding how to launch this environment is the first step toward mastering your machine’s power management and ensuring that critical background processes are never interrupted by an aggressive energy saver.
Opening the Terminal for the First Time
To get started, you first need to open the Terminal app. The fastest way to do this is by pressing Cmd + Space on your keyboard to launch Spotlight search. Then, simply type “Terminal” and hit Enter. This will open a command-line window where you can talk directly to the macOS kernel. Once the window appears, you are ready to enter commands that tell your hardware exactly how to behave. Also, if you have never used it before, you will see a blinking cursor waiting for your input; this is the gateway to controlling hidden system functions.
Running Your First Simple Command
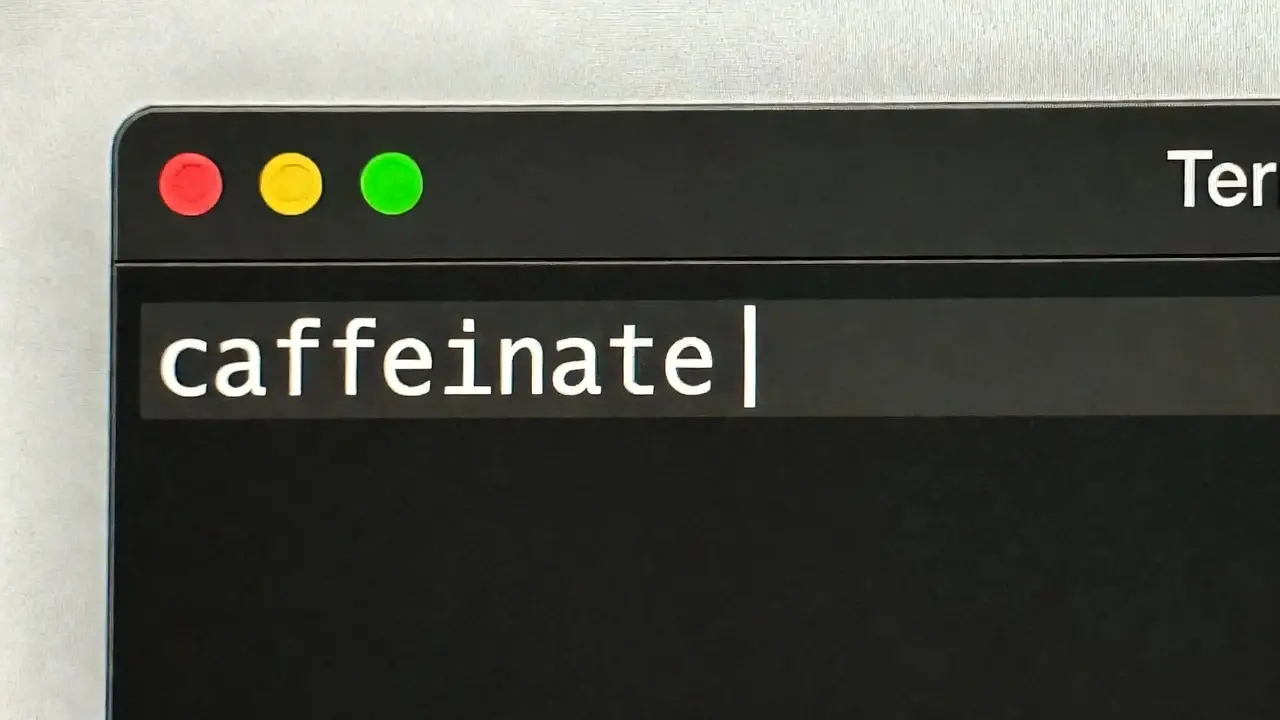
The easiest way to use this tool is by typing the base command without any extra modifiers. Simply type the following and press Enter:
caffeinateThis basic command tells your Mac to stay awake indefinitely. As long as this window remains open and the process is running, your computer will not sleep. However, please note that while it’ll keep the Mac awake, it does not provide a visual indicator that it is working; the Terminal will simply appear to be paused. To stop the effect and let your Mac sleep normally again, you must press Ctrl + C on your keyboard to kill the process and return to the command prompt.
Precision Control: Targeting Hardware Components to keep the Mac awake
Not every situation requires the entire machine to stay fully powered. For instance, you might want the processor to keep working while the screen goes dark to save energy. Other times, you need the display to stay bright for a presentation. By using specific flags, you can tell macOS exactly which part of the hardware should remain active. This granular control is essential for users who want to balance productivity with electricity savings or prevent unnecessary wear and tear on their screens during long overnight tasks.
Preventing Display Sleep with the -d Flag
If you are monitoring a live data feed or giving a slideshow, you cannot afford for the screen to go black. The -d flag specifically targets the display. Use this command to ensure your monitor stays on:
caffeinate -dThis is particularly useful because it overrides the “Display Sleep” timer in your System Settings. Consequently, you can keep a dashboard visible for hours without having to move your mouse every few minutes just to wake the screen back up. This flag is ideal for developers watching logs or designers who need a reference image visible on a second monitor.
Managing System and Disk Idle States
Sometimes you only need the “brain” of the Mac to stay active while the screen turns off. In this case, the -i flag prevents system idle sleep, which is perfect for background downloads. Additionally, the -m flag prevents the hard disk from spinning down. You can use them like this:
caffeinate -i
caffeinate -m
Using -i ensures that your CPU continues processing tasks even if you walk away from your desk. Meanwhile, using -m is essential when transferring huge amounts of data to an external drive, as it prevents the disk from entering a sleep state that could corrupt your transfer or cause the connection to drop unexpectedly.
Advanced Automation to keep the Mac awake
Manually starting and stopping a command can be tedious if you have a predictable schedule. Fortunately, caffeinate offers ways to automate the process so you do not have to remember to turn it off. You can either set a hard time limit or tie the wakefulness to another application’s activity. This removes the human error factor, ensuring your Mac doesn’t stay awake for three days straight simply because you forgot to press Ctrl+C before closing your laptop lid or leaving for the weekend.
Setting Custom Timers Using the -t Flag
If you know exactly how long a task will take, the -t flag is your best friend. This flag accepts a value in seconds. For example, if you want your Mac to stay awake for exactly one hour, you would multiply 60 seconds by 60 minutes to get 3600.
caffeinate -t 3600After the timer expires, the command automatically exits and returns your Mac to its normal energy-saving behavior. Therefore, this is a great way to ensure you do not accidentally leave your Mac running all night if you fall asleep during a download or forget that you enabled the wake mode before leaving your office.
Linking Wakefulness to Specific Process IDs
The most professional way to use this tool is by linking it to a specific app using the -w flag. Every running app has a Process ID (PID), which you can find in the Activity Monitor under the “CPU” tab. By tying caffeinate to a PID, the Mac stays awake only until that specific app closes.
caffeinate -w 1234In this example, replace “1234” with the actual PID of your software. As a result, as soon as your video export or software update finishes and the app quits, your Mac will immediately be allowed to sleep again. This is the most efficient method because it synchronizes power management directly with the completion of your work.
The Power User Approach: Combining Flags to keep the Mac awake
The real power of the Terminal comes from combining different flags into a single string. You do not have to run multiple windows for different settings. Instead, you can stack modifiers together to create a custom environment that fits your exact workflow needs. By grouping these commands, you reduce the number of active processes and make it easier to manage your system’s state with a single line of code, allowing for complex power configurations that would be impossible via the standard GUI.
Creating Multi-Purpose Commands
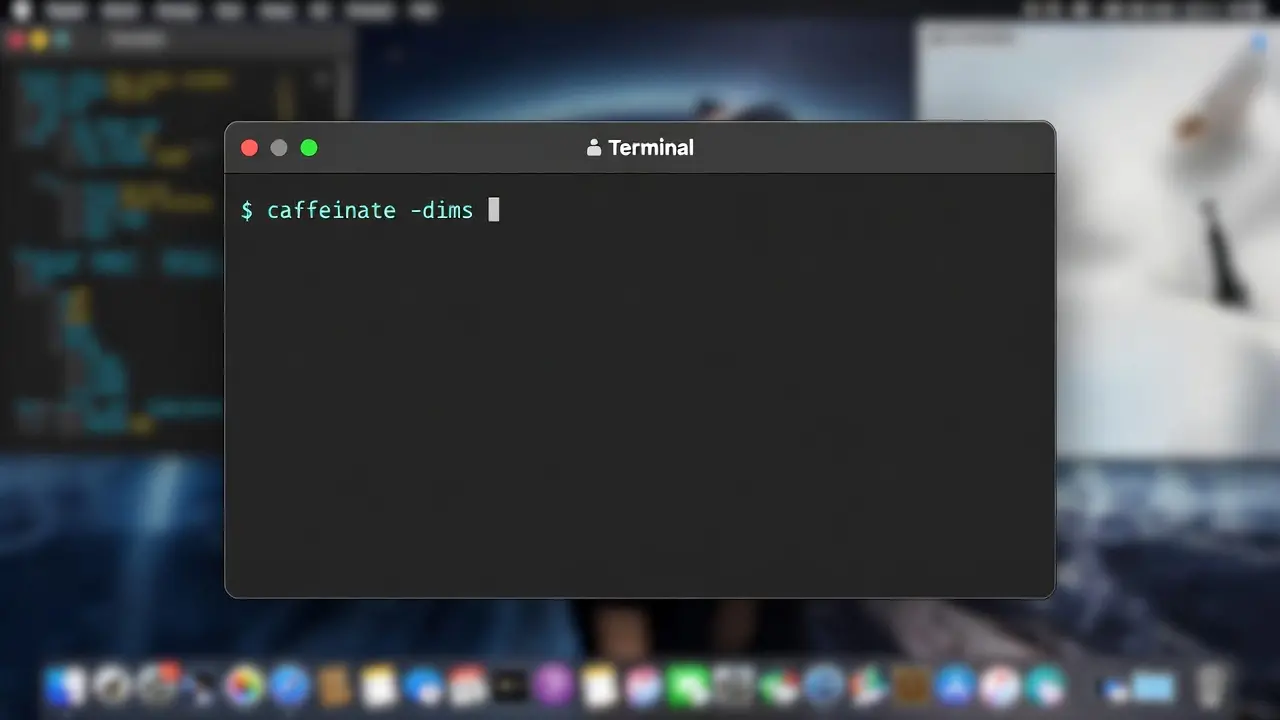
You can combine any of the previously mentioned flags by simply listing them after the main command. For instance, if you want to keep the display, the system, and the disk awake all at once, you can group the letters together. This removes the need to type the dash for every single flag, streamlining your input process significantly.
caffeinate -dimThis shorthand tells macOS that nothing should sleep—not the screen, not the CPU, and not the hard drive. Indeed, it is the most aggressive way to ensure your machine stays fully operational regardless of user inactivity, making it the gold standard for mission-critical tasks where any form of power saving could lead to a failure.
Example: The Ultimate “Stay Awake” String
For those who want total control with a safety net, you can combine hardware flags with a timer. Imagine you have a two-hour render and you want everything active until it finishes. You would use the following command:
caffeinate -dim -t 7200This string keeps the disk, idle system, and display awake for exactly 7200 seconds (two hours). Therefore, you get the maximum level of wakefulness without the risk of leaving your Mac on forever if you forget to manually stop the process. This combination provides a “set it and forget it” experience that protects both your project’s progress and your hardware’s longevity.
Why This Matters for Your Workflow
Mastering these commands allows you to take full control of your hardware without relying on third-party software that might compromise your privacy or system stability. By using native tools to keep the Mac awake, you ensure that your Mac performs exactly how you want it to during high-stakes tasks. Whether you are a developer, a creative professional, or a student, knowing how to manipulate the kernel’s power state gives you an edge in efficiency and reliability.
How to Keep the Mac Awake: Quick Reference Command Cheat Sheet
To make this easier for future use, here is a quick map of the most common goals and their corresponding commands. Keeping this list handy allows you to quickly recall the specific flag needed for your current situation without having to search through manual pages or documentation every time you need to prevent a sleep cycle.
| Goal | Command |
|---|---|
| Basic Stay Awake | caffeinate |
| Keep Screen On | caffeinate -d |
| Background Task | caffeinate -i |
| Timed Wake (1hr) | caffeinate -t 3600 |
| Link to App | caffeinate -w [PID] |
| Total Lockdown | caffeinate -dim |
How to Safely Exit Caffeinate Mode
Regardless of which command you use, it is important to know how to return your Mac to its normal state. If you did not use a timer or a PID link, the process will run until you tell it to stop. To do this, simply click back into the Terminal window and press Ctrl + C. This sends an interrupt signal that kills the caffeinate process immediately. Once you see the command prompt return, your Mac is free to follow its standard energy-saving rules again, ensuring your battery life is preserved when the work is done.